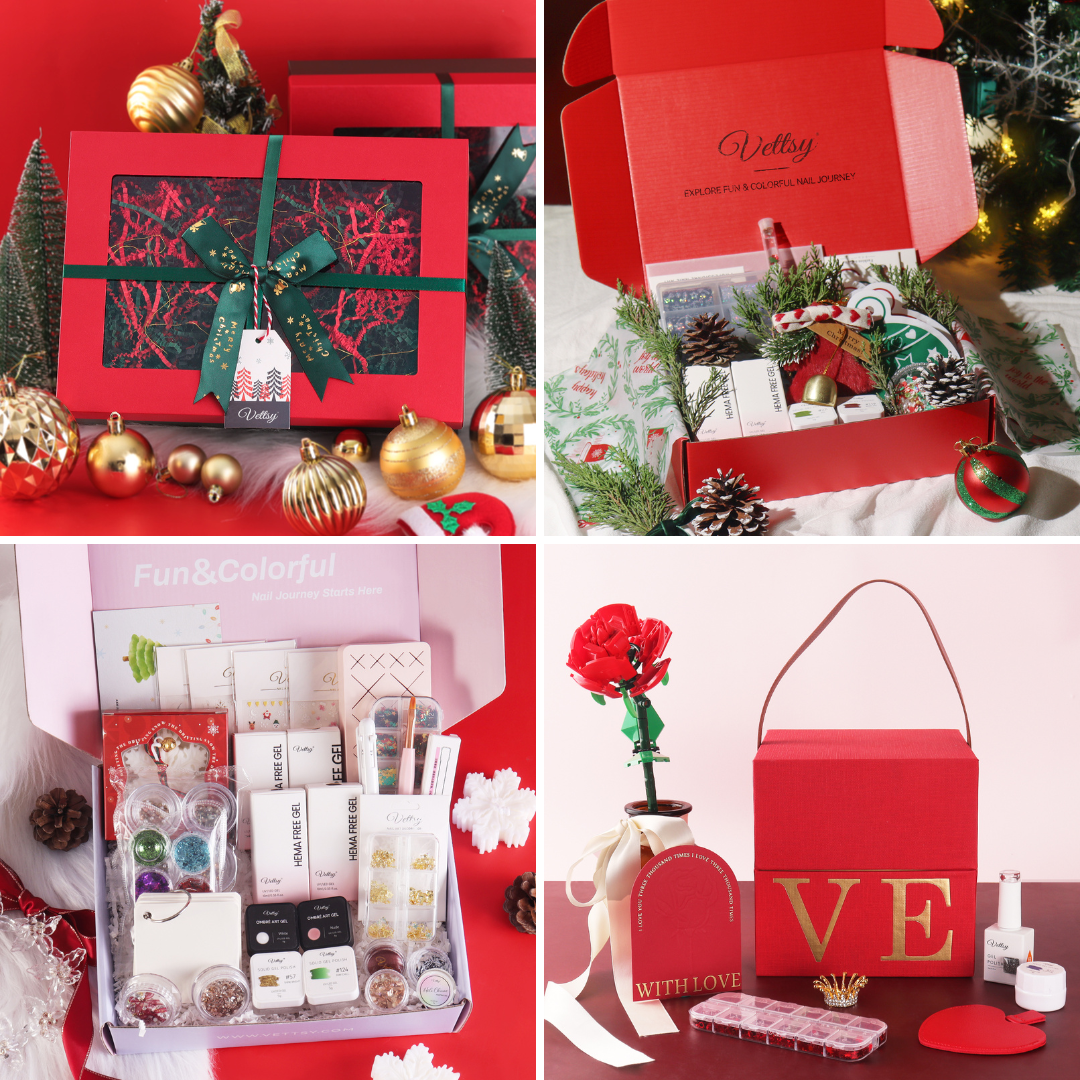
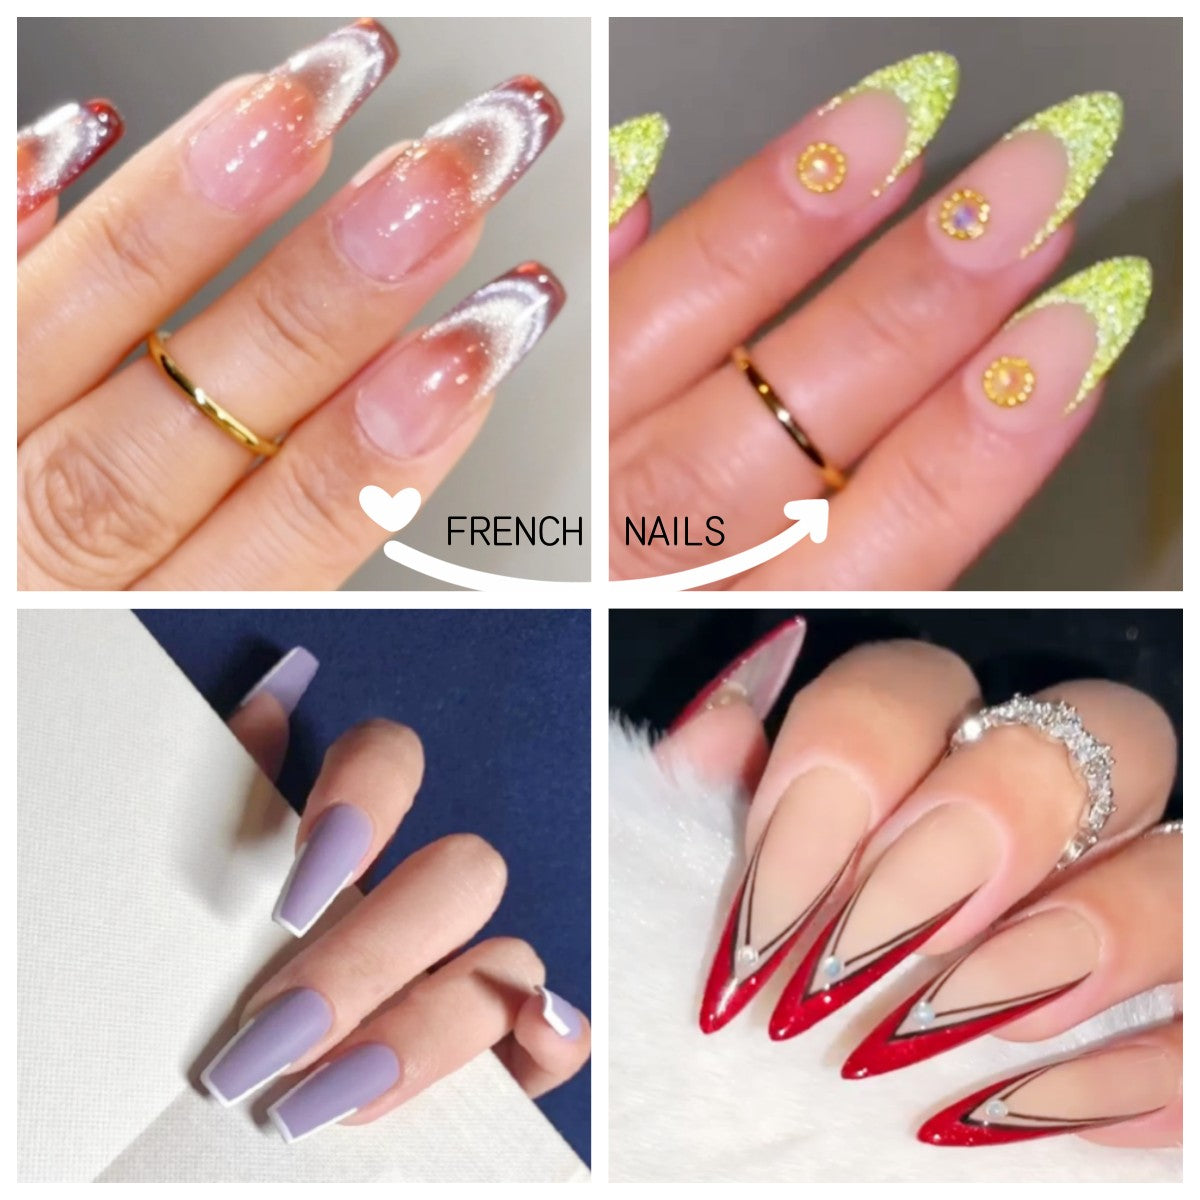
The trend of 3D manicures started off in Korea before making its way around the globe. They are usually decorated with flowers, hearts, bows, rhinestones, petals, gems, and even tiny cartoon characters for a little extra swag. Although there are various accessories for 3D nails on the market, many nail art lovers still choose to DIY designs for 3D nails with molds at home. It's so convenient and easy to use. Personally, I really enjoy using various nail art molds to make beautiful designs for my nails, which brings me a lot of fun and saves me a lot of money. Have you ever tried it? Or if you are also interested in DIY with 3D nail molds, keep reading for the details!
What is a 3D Nail Art Mold?
Nail art molds are used to quickly and easily make decorations for your nails. If you are struggling with complex nail art painting, the 3D mold can help you get a perfect nail painting in 1 minute. It's usually made of flexible silicone rubber. And you can use it with different kinds of materials to DIY nail art designs at home, such as Acrylic Powder, Gel Polishes, Solid Builder Gel, Solid Nail Tips Glue, etc.
How many kinds of nail art molds are there?
In general, there are two types of nail art mold: 3D Nail Art Mold and Relief Nail Art Mold. With some small holes of different shapes in the 3D nail mold, you can get many three-dimensional charms, such as candy, hearts, letters, bows and etc. While the relief mold has many slightly protruding patterns on it. You will get some sheet-like designs such as butterflies, plants, and flowers from it. Having similar functions, but they need to be used in different ways. Let's learn how to use them step-by-step!
How to use Silicone Nail Art Molds?
Before using a mold, there is an essential step. That is to use alcohol or nail cleaner to clean our mold, which can help us avoid impurities in our designs. Then we can start the next steps. To make your nail art last longer, you can also apply a gel top coat after you stick the design on your nails.
3D Nail Art Mold Step-by-step Tutorial:
Affected by different textures of the various materials, here are two different ways of making designs with the 3D silicone mold. No matter which method you use, some powders or glitters can be added to the material before the first step to make your designs more gorgeous.
Method 1. Color Gel + 5 in 1 Top Coat
1. Choose the gel polish you like and use a tool to mix the color gel polish with a 5-in-1 top coat on your palette evenly.
2. Put the mixed gel into the mold and fill it up, please use a tweezer or a brush to remove the bubbles inside.
3. Cure it in a LED/UV lamp for 60-120s.
4. Take out the design by slightly bending the mold to match your manicure, then use the nail glue to stick it on your nails. You can also use some rhinestones, pearls, or chains with your design.

Method 2. Solid Builder Gel or Solid Nail Tips Glue
The only difference between these two methods is the products used. Using Solid Builder Gel or Solid Nail Tips Glue is more convenient because you don't need to mix anything with them, just put them in the mold.

Relief Nail Art Mold Step-by-Step Tutorial:
Have you heard about this nail art mold before? There is little information about the relief nail art mold on the internet, so maybe most people are still new to it. But don't worry, it's very friendly to beginners. Only with several steps, you can create your special designs.
1. Choose a pattern you like and apply gel polish over it. At this step, it should be noted that ordinary nail polish cannot be used here, since it is difficult to be taken off even if it dries completely.
2. Then holding a scraper card at a 45-degree angle, gently scrape the excess gel off the design. It doesn't matter if you cannot make it 100% clean. You can remove them easily after curing them.
3. Cure it under a UV/LED lamp for 30-60s until it dries completely.
4. Then you can apply a top coat on the pattern and cure it for 30-60s, which makes the design come off easily and completely.
5. Take out the design with a tweezer to match your design and use a little nail glue or clear gel to stick it on your nails. At this step, you can press it to fit your nail surface completely or adjust it in a three-dimensional state on your nails according to your preference.

What's the difference between Relief Nail Art Mold & Stamping Plate?
 VS
VS
After getting the method of using Relief 3D Nail Art Mold, did you feel it is similar to another nail art tool--Stamping Plate? So what's the difference between them?
Easier to store & carry: The Relief Nail Art Mold is made of soft and flexible silicone and it's thin, so it can be folded and bent easily. You can just roll it up and put it anywhere in your bag. The Stamping Plate is made of steel and it is very hard. Its weight and texture make it inconvenient to carry around.
Fewer products needed: Just by using gel polish and a top coat, you can get your ideal designs with this new mold. While the Stamping Plate needs special stamping gel, scraper, and nail stamper.
Easier application & adjustment: The design taken off the relief mold is sheet-like, so it's convenient to adjust it according to the shape of your nail bed to make it fit your nail surface perfectly. And if you aren't satisfied with the pattern or position of the design, just use a tweezer to move it freely. While once the pattern on the stamper touches the surface of your nails, its position can't be changed at all. If you need to adjust it, you have to remove it entirely.
More beginner-friendly: The relief mold is very friendly to beginners. Even if you need to practice it many times, you can just clean the mold and it won't hurt your nails. The stamping plate has high requirements on the strength and angle of transferring the patterns, and it will get on the skin of your fingers if you aren't careful enough. You need to clean your nails all the time when practicing.
Moreover, the new relief mold can be used as a stamping plate while making up for all the shortcomings. How can we not fall in love with such a wonderful new mold?
There are so many different types of nail art tools available to suit all budgets. But for beginners, choosing the nail art mold is truly the easiest and most budget-friendly way to take your nail art to the next level. So just get your Silicone Nail Art Mold to be a nail art expert with ease!